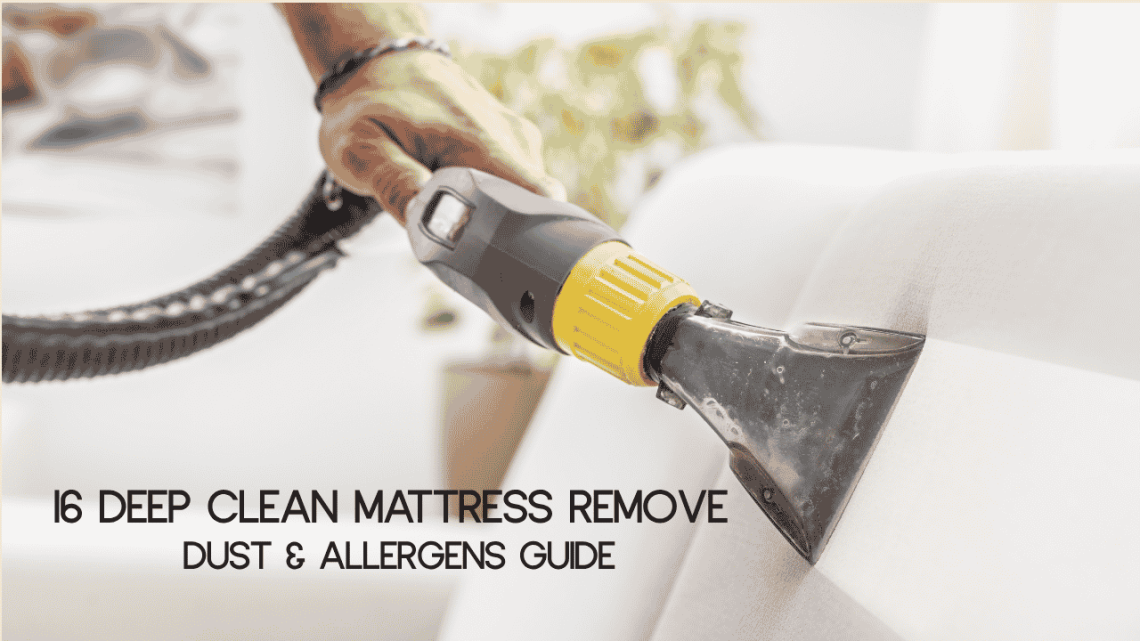
1. Strip and Reset Your Bedding Foundation
Your mattress cleaning journey begins with removing everything on top of it. Strip all sheets, pillowcases, mattress protectors, and blankets. This exposes the surface to allow proper cleaning and helps you identify any hidden dust, stains, or odor sources that may have built up over time. Washing bedding separately in hot water also helps eliminate allergens like dust mites and bacteria that thrive in fabric layers.
Once the mattress is fully exposed, let it air out for at least 30–60 minutes. Fresh airflow helps release trapped moisture and odors from deep inside the fabric layers. This step prepares your mattress for deeper cleaning methods like vacuuming and stain treatment, making every following step more effective and hygienic for long-term sleep comfort.

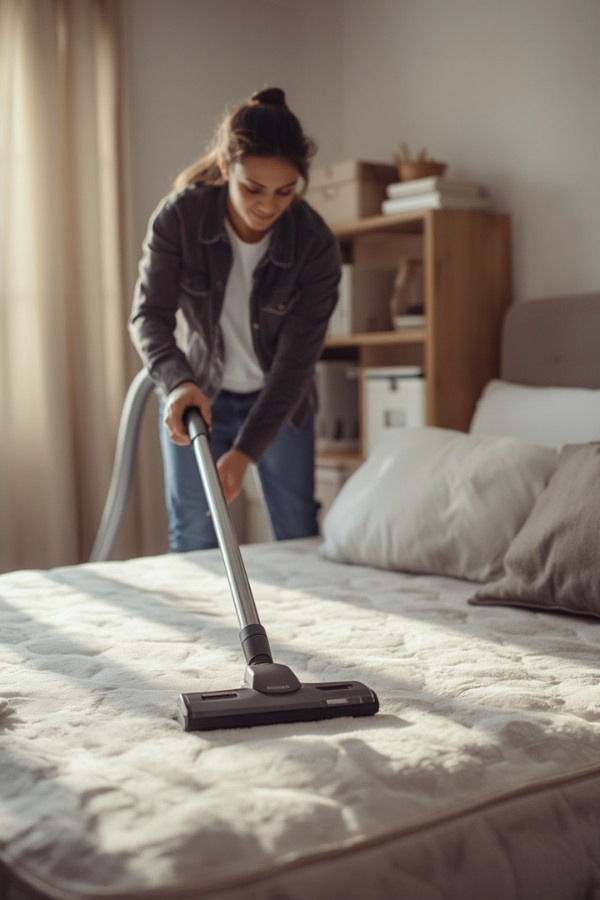
2. Vacuum Deep Into Mattress Fibers
Vacuuming is one of the most important steps in deep cleaning a mattress. Use a vacuum cleaner with an upholstery attachment to remove dust, dead skin cells, and allergens embedded in the fabric. Work slowly in overlapping strokes across the entire surface, including seams and edges where dirt accumulates most heavily.
For best results, repeat vacuuming in multiple directions to lift debris from deeper layers. This process reduces dust mites and improves air quality in your sleeping environment. Regular vacuuming every few weeks can significantly extend your mattress life and prevent
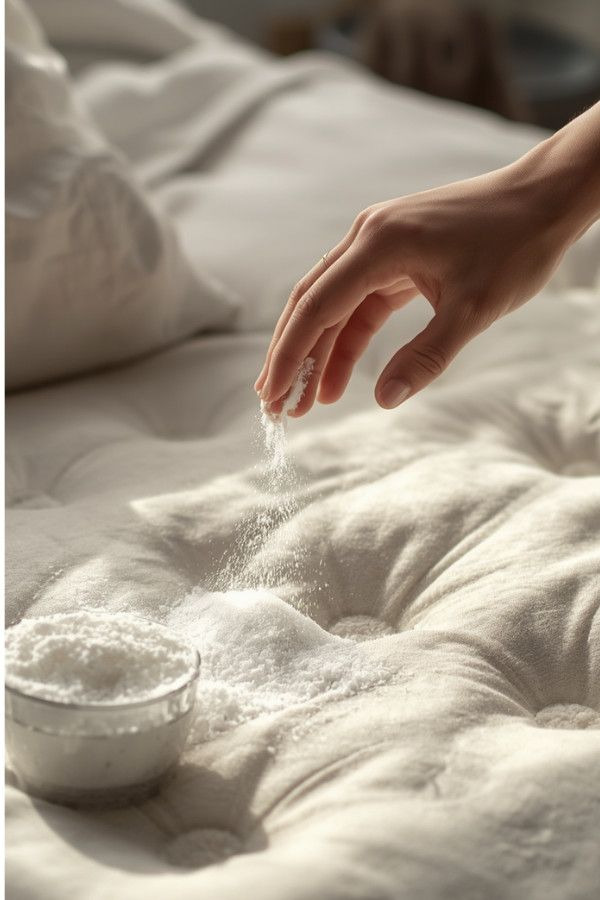
3. Sprinkle Baking Soda for Odor Removal
Baking soda is a natural deodorizer that absorbs unwanted smells trapped inside your mattress. Sprinkle a generous layer evenly across the surface, ensuring full coverage. Let it sit for at least 4–6 hours so it can penetrate fabric layers and neutralize odors caused by sweat, spills, and bacteria buildup.
The longer baking soda sits, the more effective it becomes at lifting deep odors. After waiting, vacuum it thoroughly to remove all residue. This simple step leaves your mattress smelling fresher and feeling cleaner without using harsh chemicals, making it ideal for allergy-sensitive households.
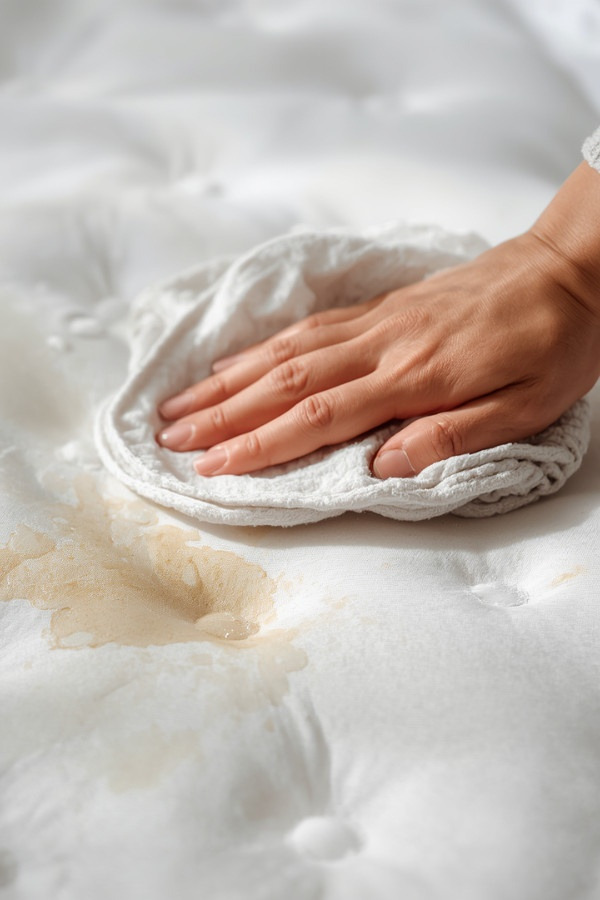
4. Spot Clean Stains Immediately
Stains on a mattress should be treated quickly to prevent permanent damage. Mix mild detergent with water or use an enzyme cleaner to gently dab affected areas. Avoid soaking the mattress, as excess moisture can lead to mold and mildew growth inside the layers.
Use a clean cloth to blot rather than scrub, which helps lift stains without spreading them. Repeat the process until the stain fades. Spot cleaning ensures your mattress remains hygienic and visually clean, especially for sweat, urine, or food stains that can attract bacteria over time.
5. Sun-Dry Your Mattress Naturally
Sunlight is a powerful natural disinfectant that helps kill bacteria, dust mites, and allergens inside your mattress. If possible, place your mattress in direct sunlight for a few hours. UV rays naturally break down microorganisms while fresh air removes trapped moisture and odors.
Make sure to flip the mattress halfway through exposure so both sides receive equal treatment. This process not only refreshes the mattress but also helps prevent mold growth. Sun-drying is one of the most effective chemical-free methods for deep mattress sanitization.

6. Flip and Rotate for Even Cleaning
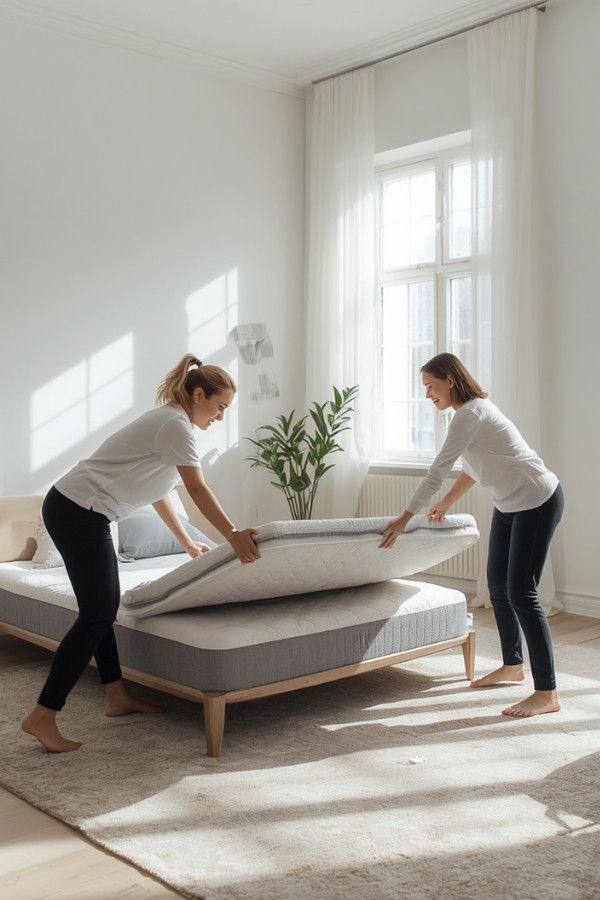
Flipping and rotating your mattress ensures even wear and prevents dust and allergens from settling in one area. Turn your mattress every 3–6 months to maintain structural balance and hygiene. This also helps prevent sagging and extends overall mattress lifespan.
During deep cleaning, flipping allows you to clean both sides thoroughly. Vacuum and treat stains on each surface before rotating it back into place. This simple habit improves sleep quality and keeps your mattress fresher for a longer time.
7. Use Essential Oils for Freshness
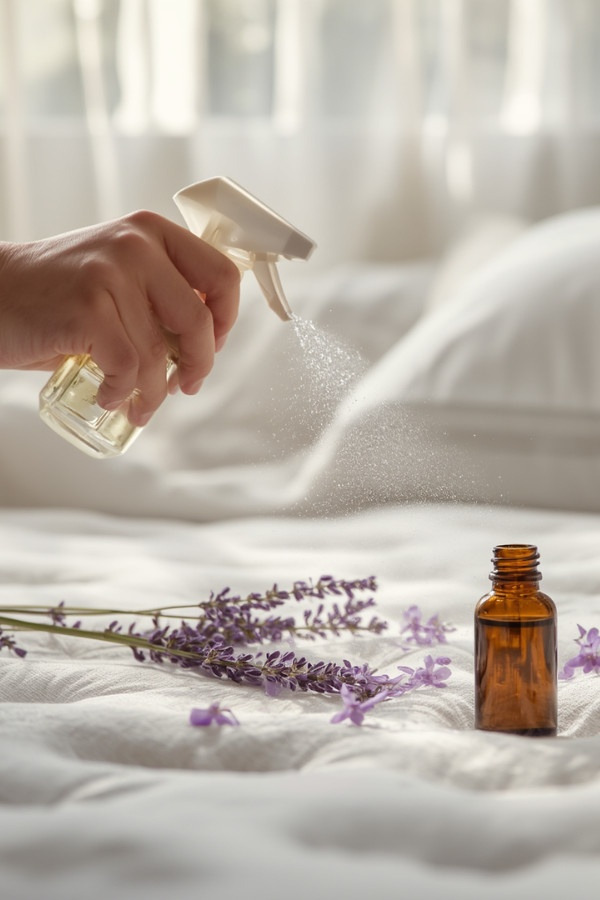
Essential oils like lavender, eucalyptus, and tea tree can naturally refresh your mattress while adding antimicrobial benefits. Mix a few drops with water in a spray bottle and lightly mist the surface after cleaning. Avoid over-spraying to prevent moisture buildup.
These oils not only improve scent but also help reduce bacteria and dust mites. Lavender promotes relaxation, while eucalyptus provides a clean, spa-like freshness. This step enhances your sleep environment with natural aromatherapy benefits.
8. Steam Clean for Deep Sanitization
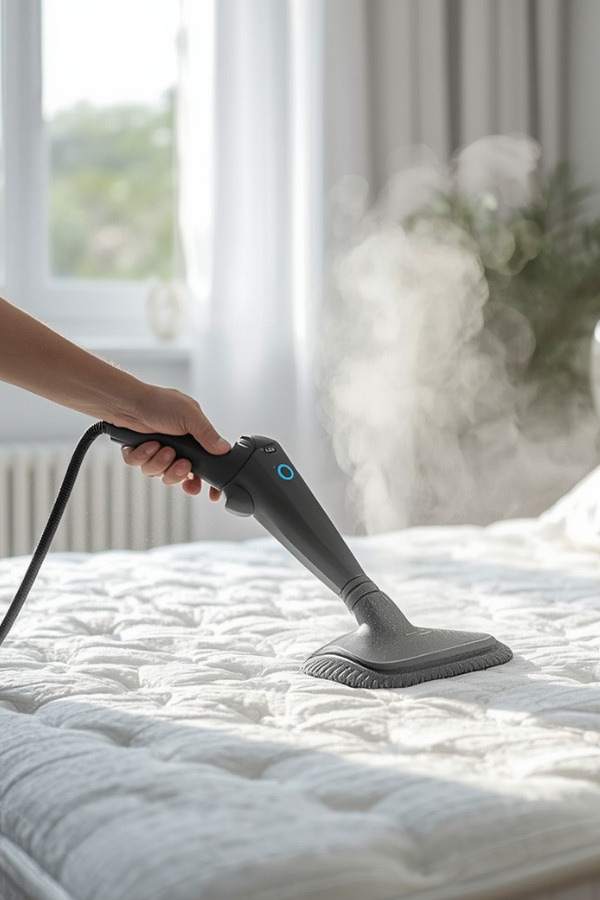
Steam cleaning penetrates deep into mattress layers, killing dust mites, bacteria, and allergens without chemicals. Use a handheld steam cleaner and move slowly across the surface to ensure even heat distribution. The steam loosens embedded dirt while sanitizing fabric fibers.
After steaming, allow the mattress to dry completely before using it. Proper drying prevents moisture-related issues like mold. This method is ideal for allergy sufferers seeking a deeper, professional-level clean at home.
9. Treat Dust Mites with Freezing Method
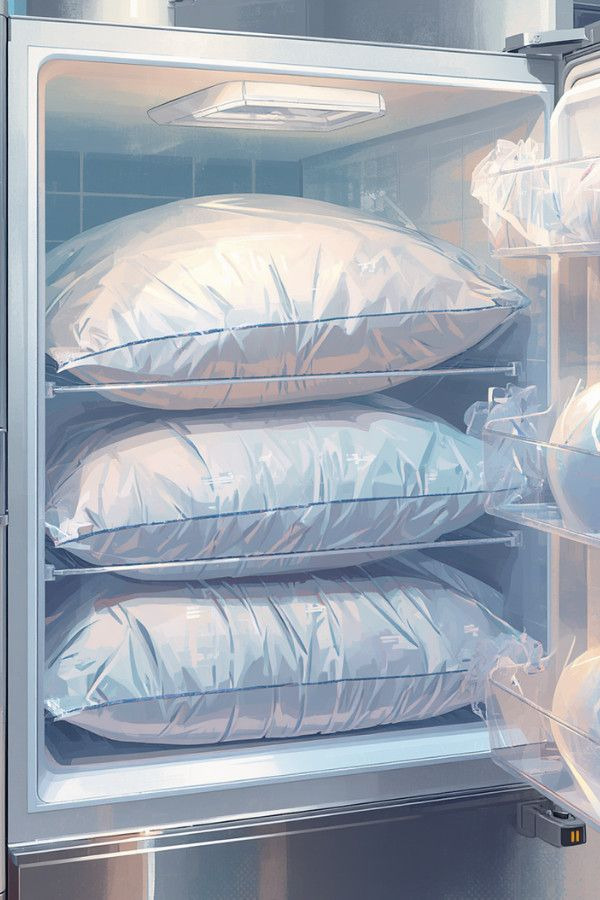
Dust mites cannot survive extreme temperatures, making freezing a useful cleaning trick for smaller mattress accessories. While the mattress itself cannot be frozen, pillows and removable covers can be placed in cold conditions to reduce allergens significantly.
For mattresses, combining vacuuming and baking soda treatment achieves similar results. This method helps disrupt dust mite colonies and improves sleep quality for allergy-sensitive individuals. Consistency is key for long-term allergen control.
10. Use Mattress Protector for Prevention
A mattress protector acts as a barrier against dust, sweat, and allergens. It prevents dirt from penetrating deep into mattress layers, making cleaning much easier. Choose a breathable, washable protector for best hygiene results.
Regular washing of the protector ensures a cleaner sleep environment overall. This preventive step reduces the need for frequent deep cleaning while extending mattress lifespan. It is one of the simplest yet most effective hygiene investments.
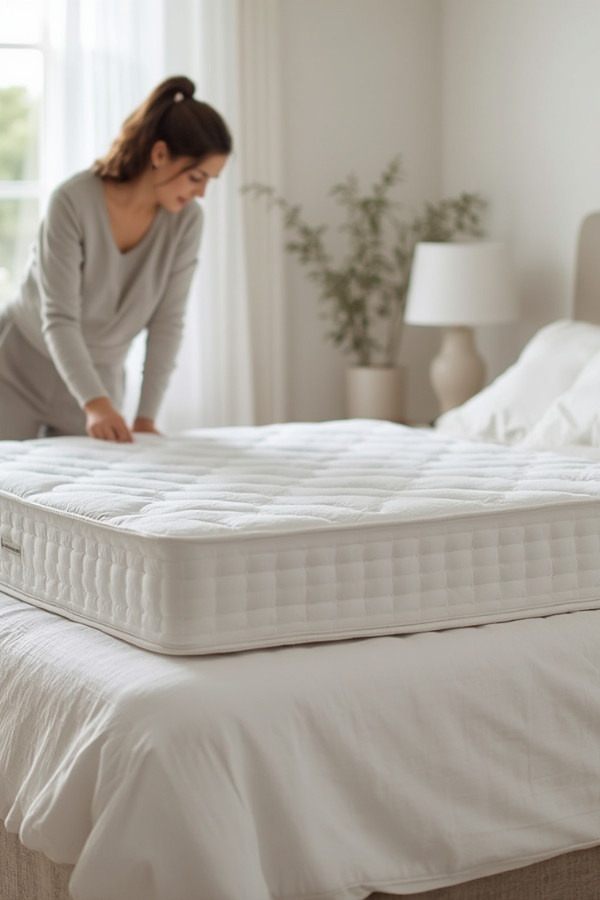
11. Remove Pet Hair Effectively
Pet hair can quickly accumulate on mattresses, especially in homes with cats or dogs. Use a lint roller or slightly damp rubber glove to collect hair from the surface. Vacuuming afterward ensures deeper removal of embedded fur.
This step is important for reducing allergens and maintaining cleanliness. Pet dander often contributes to breathing issues and irritation, so consistent removal improves sleep quality and hygiene significantly
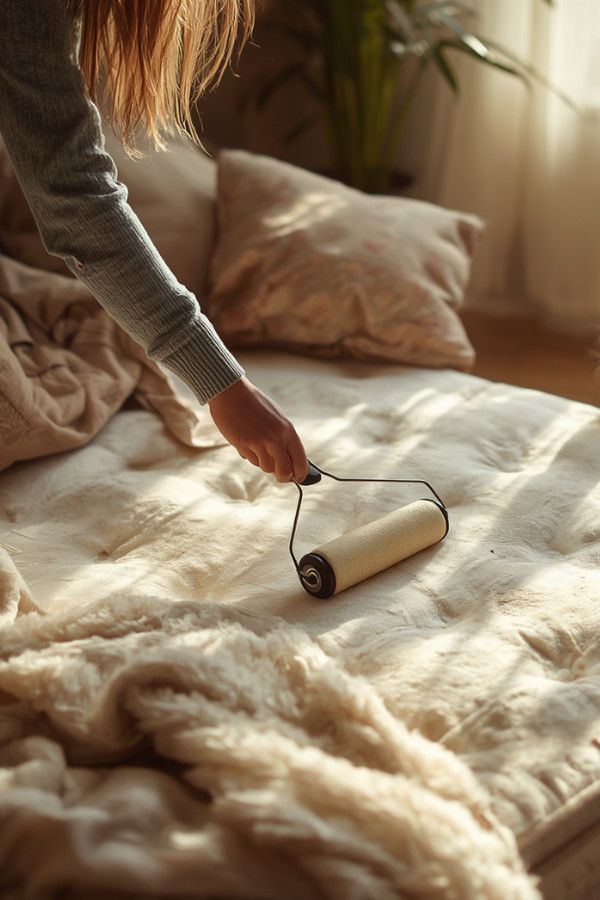
12. Deodorize with Vinegar Solution
White vinegar is a natural disinfectant that neutralizes odors and kills bacteria. Mix equal parts water and vinegar in a spray bottle and lightly mist the mattress. Avoid soaking to prevent moisture buildup inside the layers.
The vinegar smell fades as it dries, leaving the mattress fresher and cleaner. This method is especially useful for eliminating sweat and mildew odors naturally without harsh chemicals.
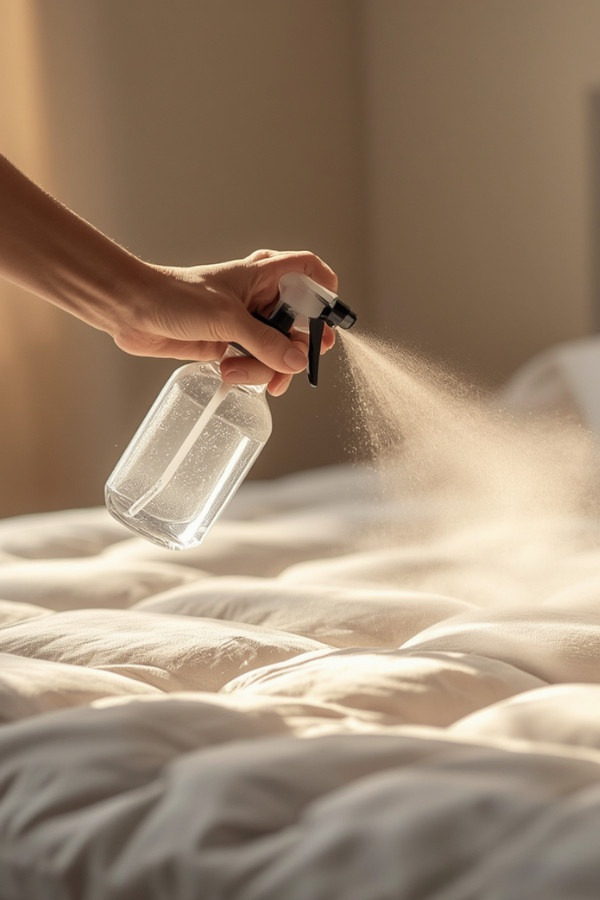
13. Deep Clean Mattress Edges and Seams
Edges and seams collect more dust and debris than flat surfaces. Use a vacuum crevice tool or soft brush to clean these hidden areas thoroughly. Dirt buildup in seams often goes unnoticed but significantly affects hygiene.
Focusing on edges ensures complete cleaning and reduces allergen hotspots. Regular attention to these areas prevents long-term buildup and keeps your mattress fresh throughout.
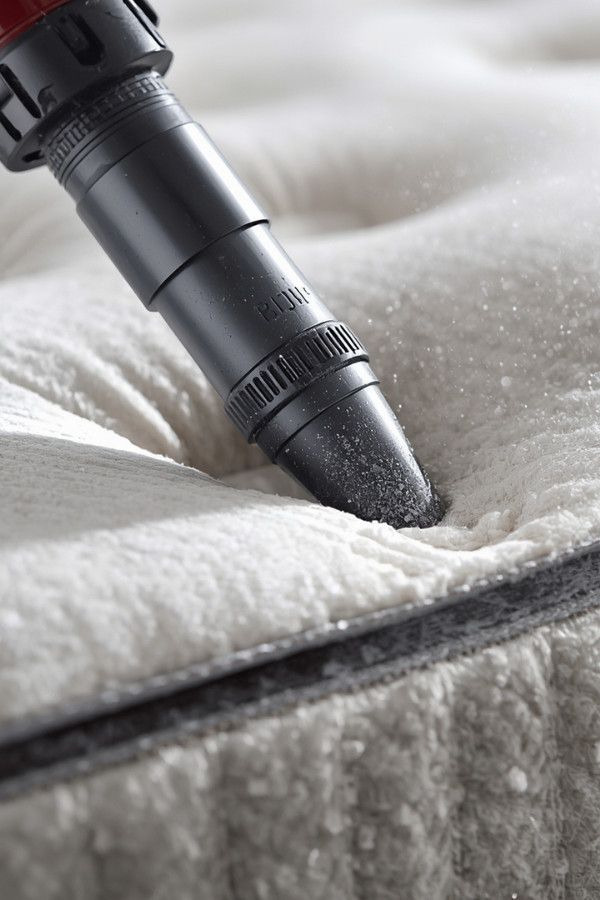
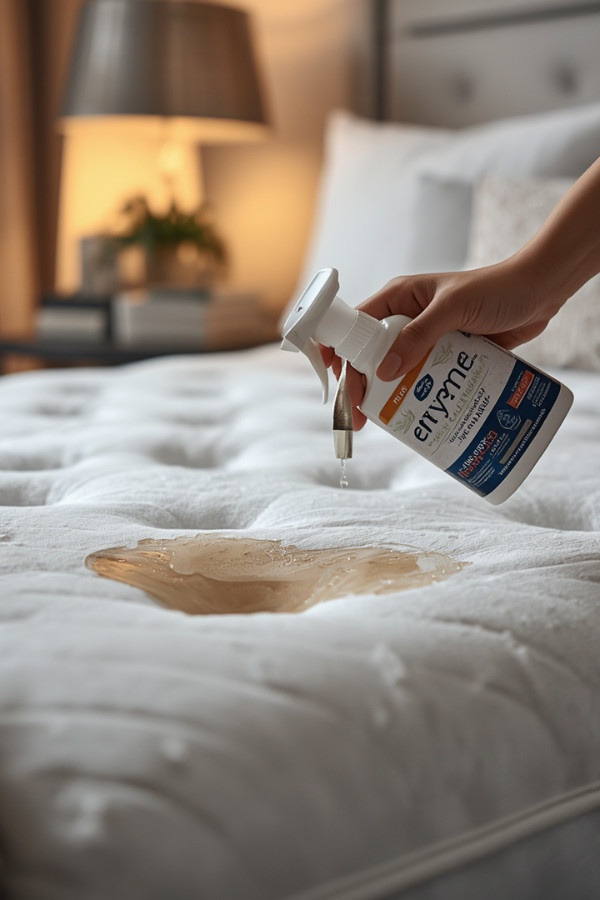
14. Use Enzyme Cleaners for Organic Stains
Enzyme cleaners break down organic matter like sweat, urine, and food stains. Apply directly to stained areas and allow time for the enzymes to work before blotting gently with a cloth.
These cleaners are highly effective for deep-set stains and odors. They target the root cause instead of masking smells, making them ideal for long-term mattress hygiene maintenance.
15. Air Out Mattress Weekly
Regular airing helps prevent moisture buildup and keeps your mattress fresh. Remove bedding once a week and allow the mattress to breathe for a few hours. This reduces odors and slows down dust mite growth.
Good airflow improves overall mattress hygiene and prevents musty smells. It is a simple habit that significantly enhances long-term sleep quality.

16. Final Fresh Bedding Reset
After deep cleaning, always finish with fresh bedding. Use clean sheets, pillowcases, and a mattress protector to lock in cleanliness.
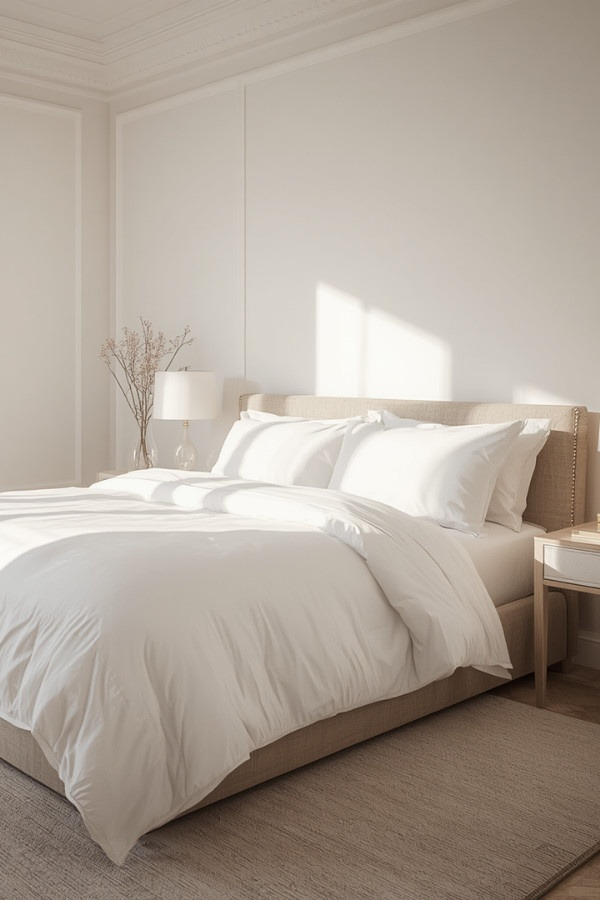
This final step restores comfort and ensures a hygienic sleep environment. Fresh bedding enhances relaxation and completes the deep cleaning process.